The BudStacks Guide · Part 9
The Email Hub
One place for every email your store sends — the automatic ones (order confirmations, welcome emails) and the ones you write (newsletters and offers).
In your admin: /tenant-admin/emails
Templates
What it’s for
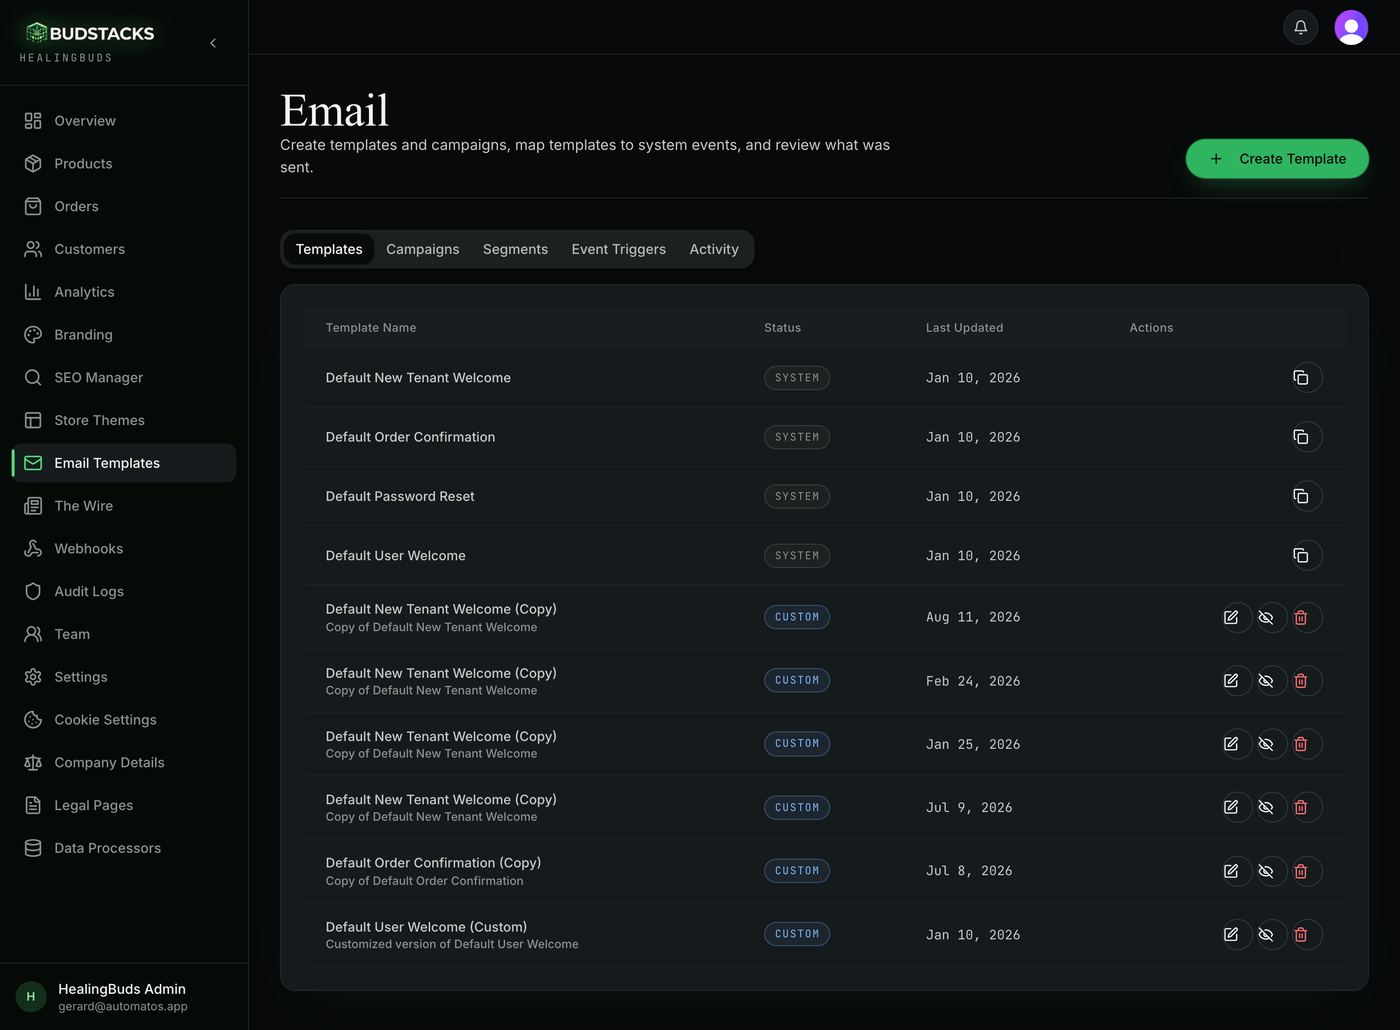
Templates are the reusable designs behind every email your store sends. You never start from a blank page: duplicate a ready-made template, restyle it, and it becomes yours.
What it does
- SYSTEM templates are maintained by BudStacks and always work — they are your safety net.
- Duplicate (the copy icon) creates an editable copy you can brand.
- Your custom templates can be edited, deactivated, or deleted at any time — the system default quietly takes over if you remove one.
Try it: Create your first branded template
- Open Email Templates in the left menu — you land on this tab.
- Find “Default Order Confirmation” and click the copy icon on its row.You should see a new CUSTOM row appear — that copy is yours to change.
- Click the pencil icon on your copy to open the editor (covered next).
- Change the greeting, add your sign-off, press Save.Nothing goes live yet — a template only sends once you map it under Event Triggers.
Why you’ll use it
Every email a customer gets is a brand moment. Ten minutes making the order confirmation look like your shop pays out on every order you ever ship.
Writing an email
What it’s for
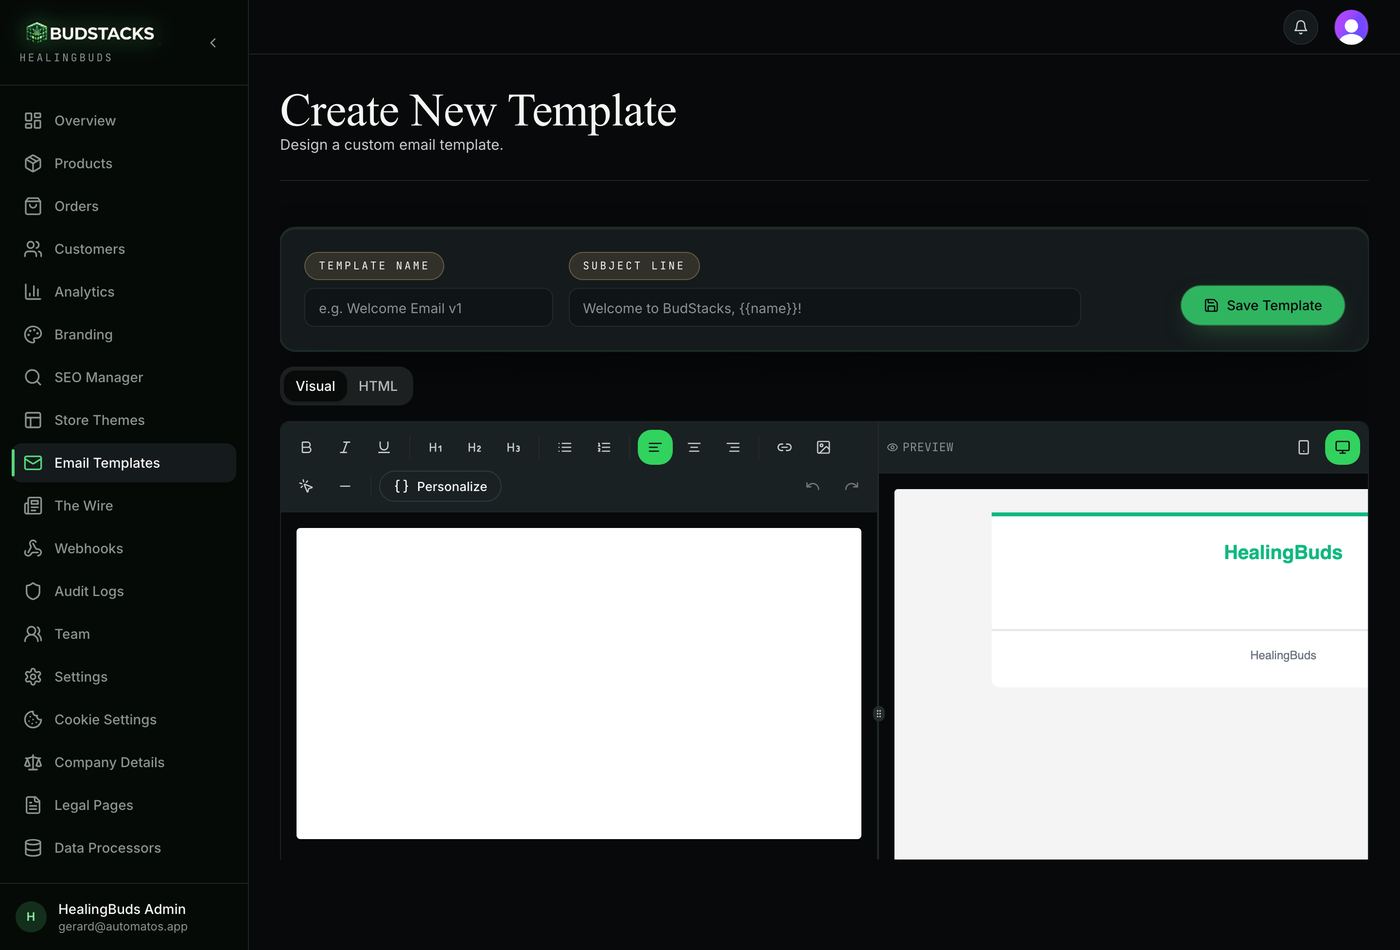
The editor is where templates and newsletters get written. Visual mode works like writing a document — your logo, colours and footer are added automatically, so you only ever write the message.
What it does
- Headings, images, and buttons from a simple toolbar — no design skills needed.
- Personalise inserts smart tags (the customer's name, their order number) that fill in per recipient — type {{ to see the menu.
- The preview shows the real email — exactly what lands in the inbox, at phone or desktop width.
- Send test delivers it to your own inbox before any customer ever sees it.
- An HTML mode exists for designers who want full control — most owners never need it.
Try it: Personalise and test an email
- In the editor, click where the greeting should go and type {{ — a menu of smart tags appears.
- Choose “Customer name”. It shows as a small chip in your text.In the sent email the chip becomes the real name — “Hi Sarah,” not “Hi customer,”.
- Toggle the preview between phone and desktop widths to check both.
- Press Send test and open your own inbox.You should receive it within a minute, with sample details filled in.
Why you’ll use it
No designer, no agency, no code. If you can write a WhatsApp message, you can produce a professional branded email.
- · Images you add are stored permanently — they will not break in old emails months later.
- · The footer (your business address and the unsubscribe link) is added automatically and cannot be accidentally removed — that is your legal protection, handled.
Campaigns
What it’s for
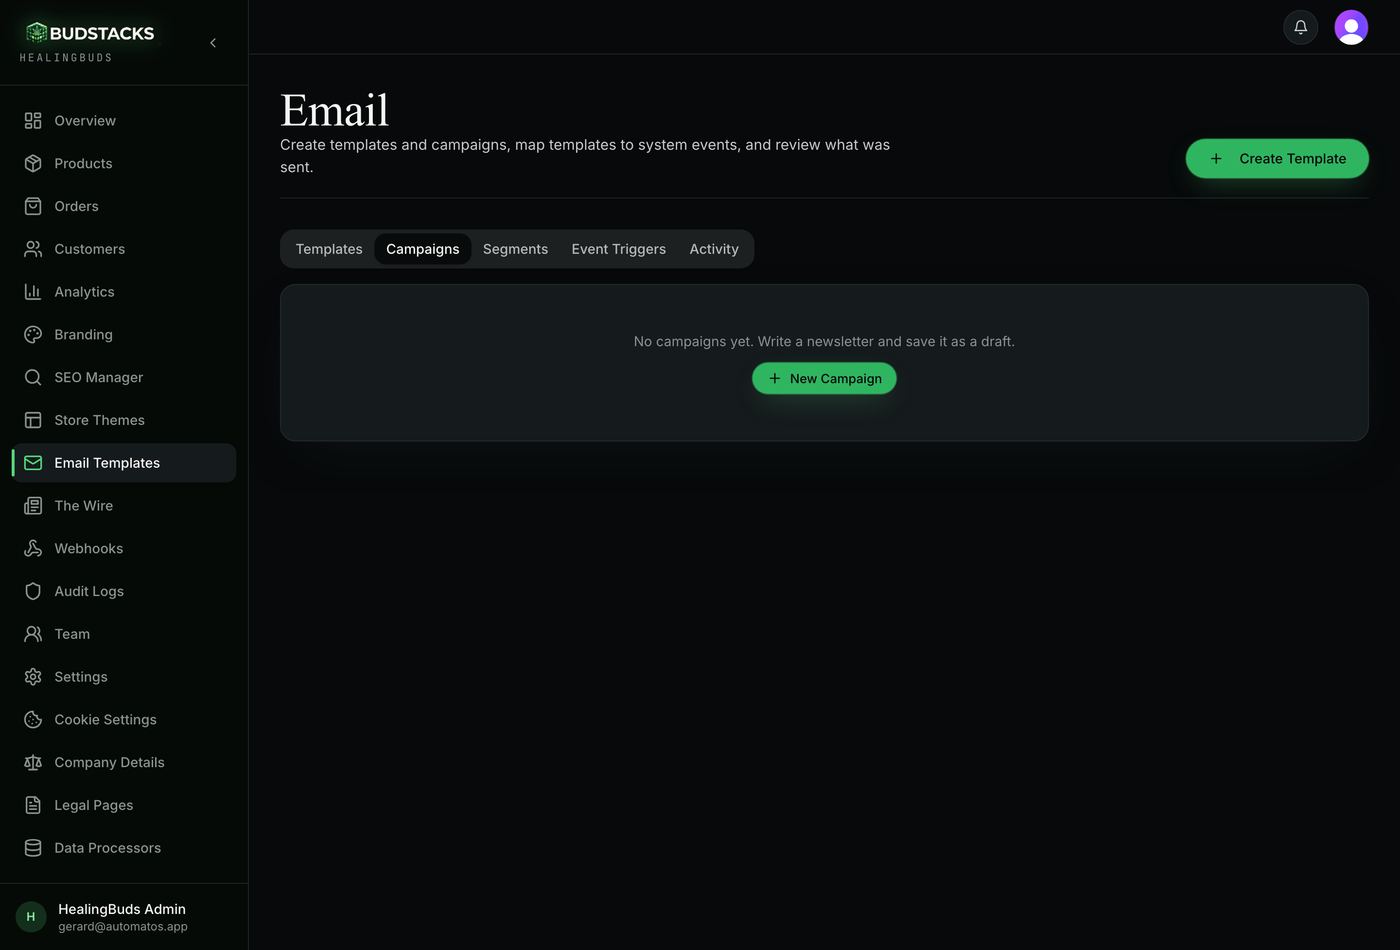
Campaigns are the emails you decide to send — a newsletter, a new-product announcement, a weekend offer — written once and sent to your audience.
What it does
- Same editor as templates, plus an audience picker: newsletter subscribers, consented customers, or a saved segment — with a live count before you commit.
- Send now, or schedule for the morning your customers actually read email.
- Delivery is tracked per recipient, and a sent campaign locks its content so the record stays true.
- Writing in The Wire first? Use “Send as newsletter” on any post — one piece of writing, two audiences.
Try it: Send your first newsletter
- On the Campaigns tab, press New Campaign.
- Write a subject a customer would open, and the message itself.
- Save draft — you land on the campaign's own page.
- Pick your audience and check the live recipient count.The count already excludes anyone who unsubscribed — you cannot email them by mistake.
- Press Send test to see it in your inbox first. Happy? Press Send.You should see per-recipient progress build on the page, then the status flip to Sent.
Why you’ll use it
Your customer list is the one marketing channel no platform can take away from you. Campaigns are how a first-time buyer becomes a regular.
Segments
Pro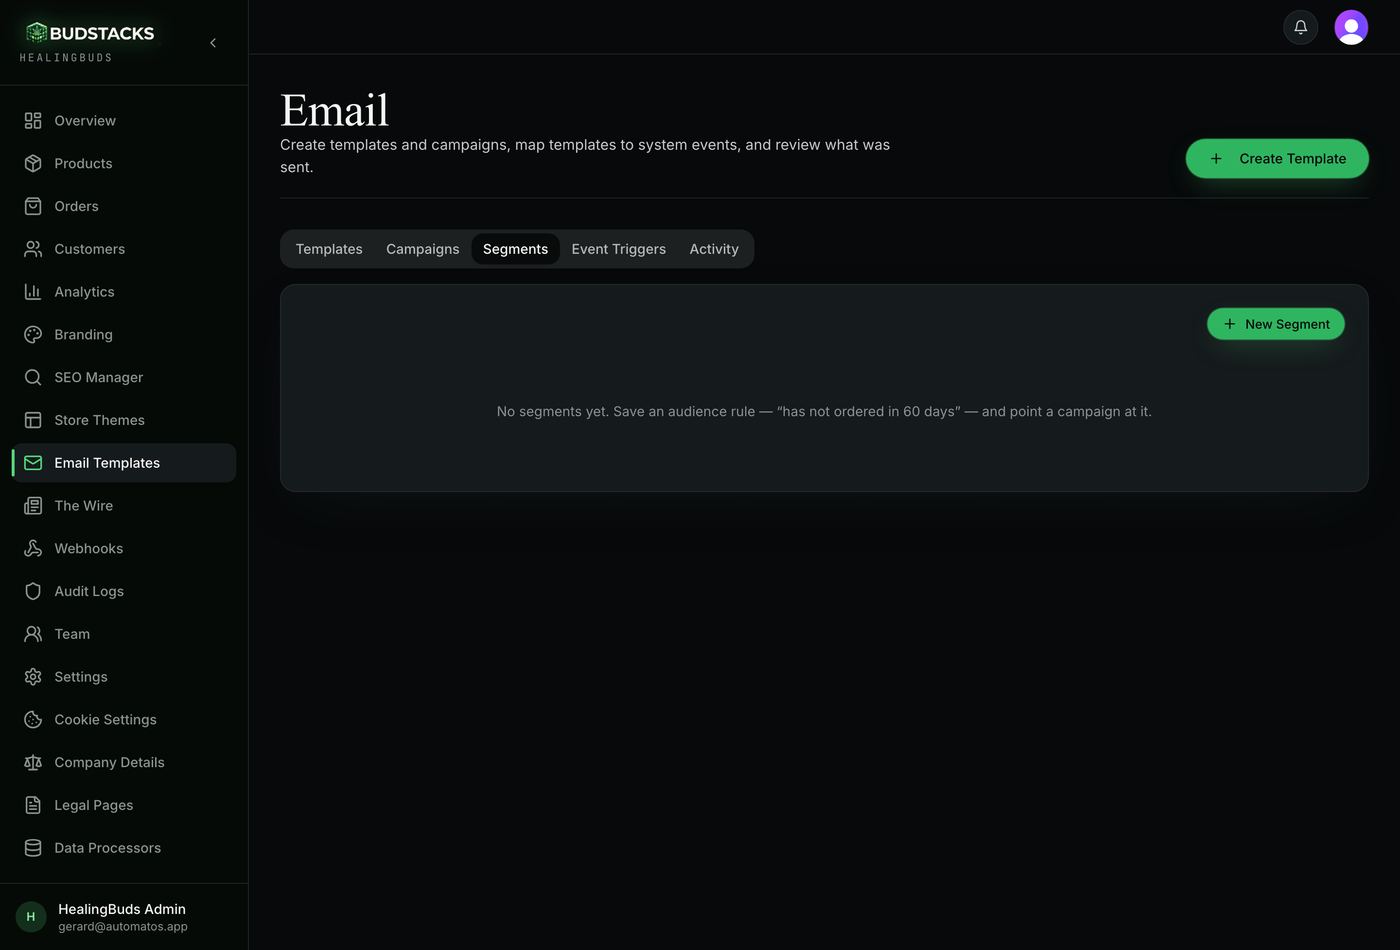
What it’s for
A segment is a saved rule like “customers who haven't ordered in 60 days”. It is not a fixed list — every time you use it, it finds whoever matches today.
What it does
- Combine rules: last order age, number of orders, tags you've applied, verification status.
- Every segment automatically respects consent and unsubscribes.
- Pick any segment as a campaign audience and see its live count.
Try it: Build the win-back segment
- On the Segments tab, press New Segment and name it “Time to reorder”.
- Add the rule: last order more than 60 days ago.
- Save, and note the live count of matching customers.
- Next time you write a campaign, pick this segment as the audience.The gentle “we miss you” campaign to this segment is the highest-value email habit in this hub.
Why you’ll use it
Winning back a lapsed customer costs a fraction of finding a new one — and this makes it a repeatable habit instead of a guess.
Event Triggers
What it’s for
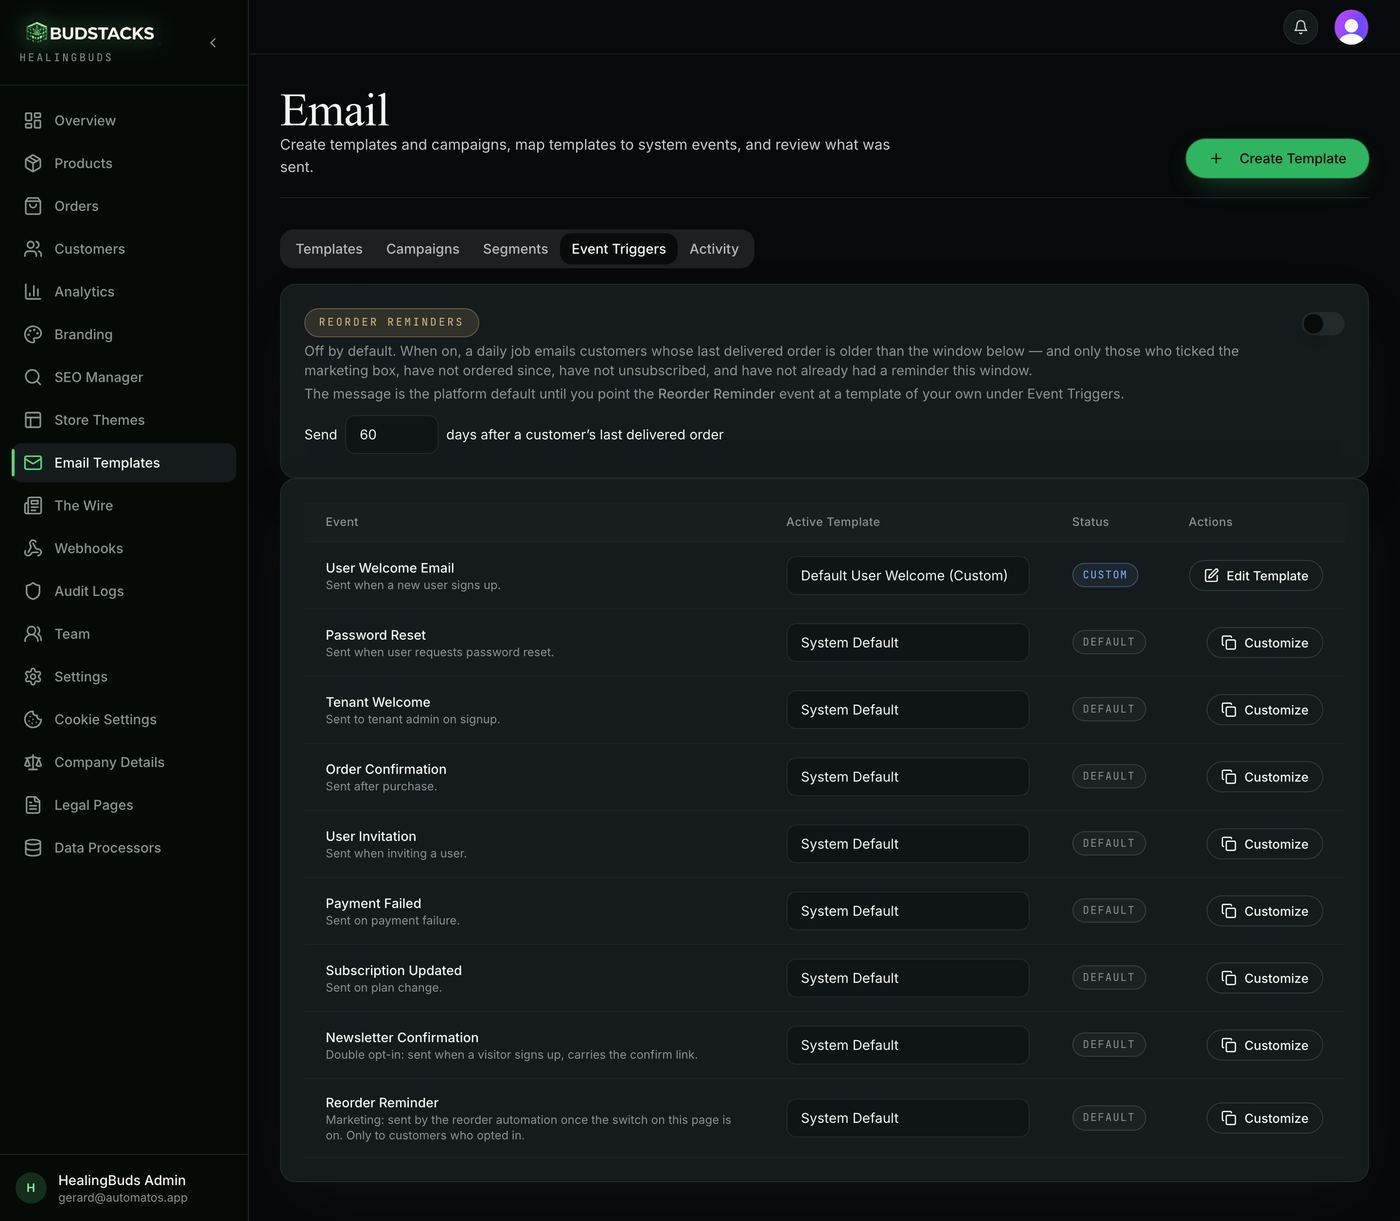
Some emails send themselves: order confirmed, order shipped, welcome. This tab decides which design each of those moments uses.
What it does
- Each event shows its current template — the system default until you map your own.
- The reorder reminder switch (off by default) automatically emails customers a set number of days after a delivered order — consent-checked, once per cycle.
Try it: Put your branded template live
- Find the “Order Confirmation” row.
- Choose the custom template you made earlier from its dropdown and save.
- Place a test order (or wait for the next real one).The confirmation that arrives is now your branded design — check Activity to see it logged.
Why you’ll use it
Map your branded templates once and every automatic email is on-brand forever. Flip the reorder reminder on and your shop follows up with every customer — while you sleep.
Activity
What it’s for
The answer to “did my customer get that email?” — without asking anyone.
What it does
- Searchable log of every send: recipient, subject, status, time.
- Click a row for the detail — if a mail server rejected it, the reason is right there.
- The open/click tracking switch above it is off by default (privacy-first); turn it on to see engagement on your campaigns.
Why you’ll use it
When a customer says “I never got my confirmation”, you answer in ten seconds with the delivery record in front of you — a support conversation ended, not started.